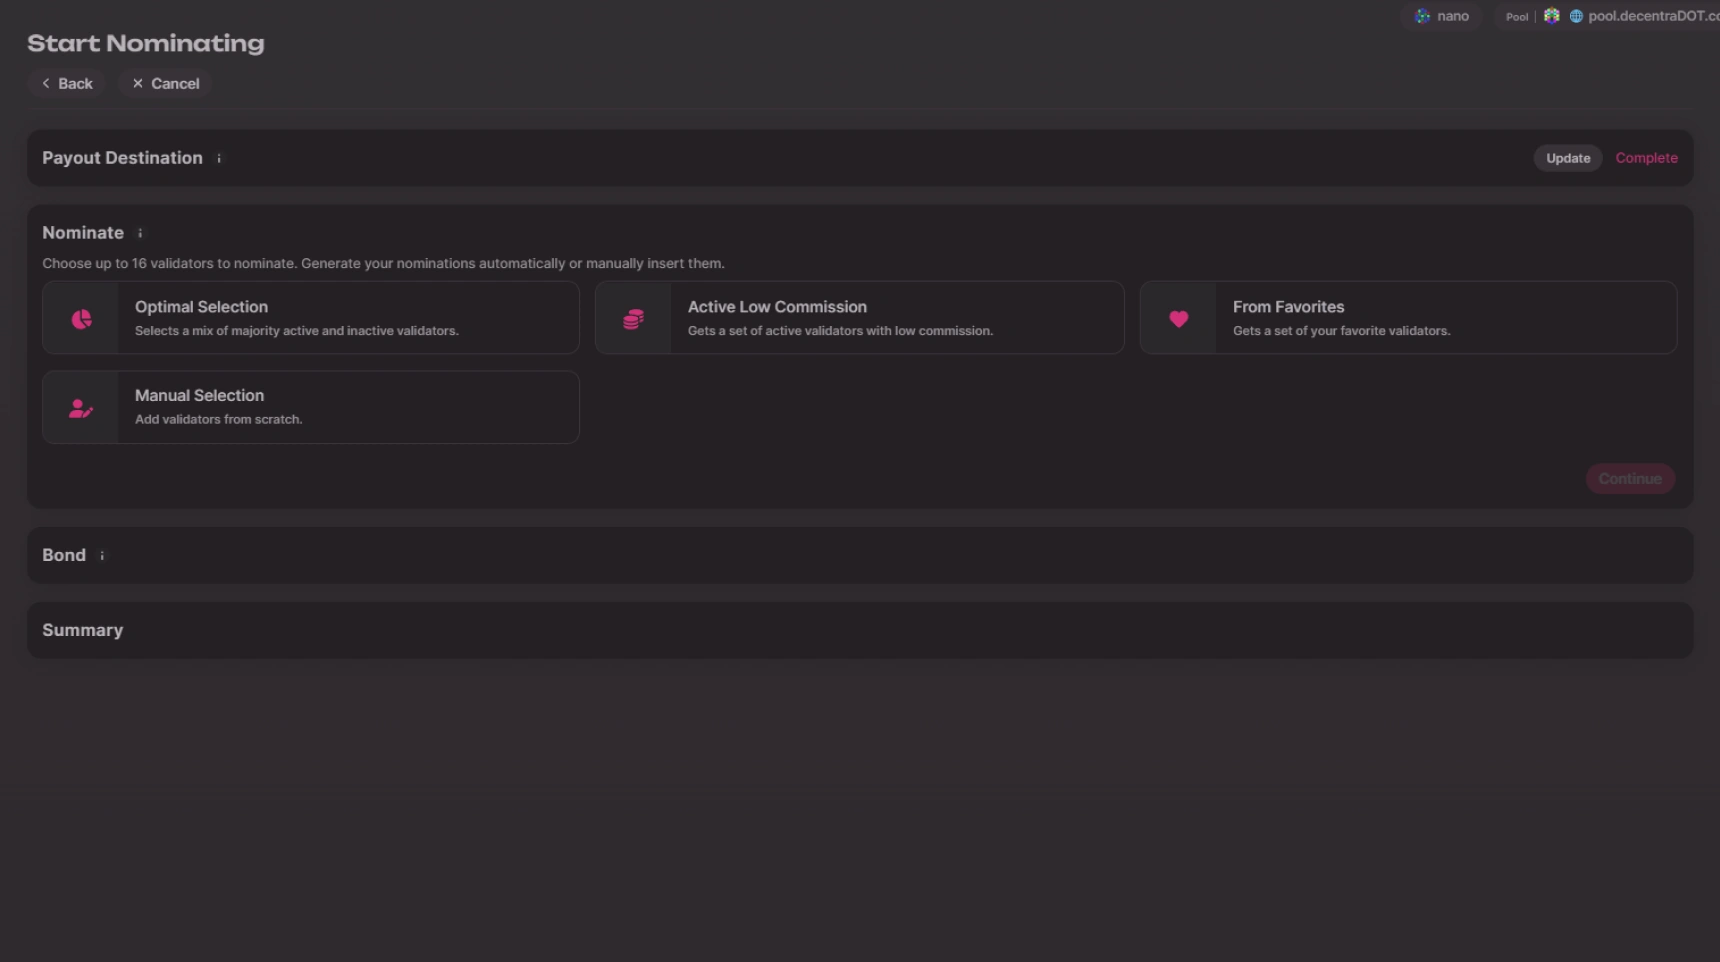
Polkadot provides a user-friendly staking dashboard at staking.polkadot.network that allows you to easily stake and nominate validators. In the next few steps we'll walk you through the process of staking Polkadot tokens using the staking dashboard.
To begin staking your Polkadot tokens, head over to the staking dashboard at staking.polkadot.network. This dashboard serves as the central hub for all your staking activities.
Once you're on the staking dashboard, locate the "Start Nominating" button and click on it.

Next, you'll be presented with three payout options: compound (rewards are automatically re-staked and bonded), to your account, or to another account. Select the option that aligns with your preferences and click "Continue" to proceed.
Now, it's time to choose your nominations. The staking dashboard provides two methods: automatic optimal selection or manual selection. If you're unsure which validators to nominate, the automatic optimal selection will choose validators for you based on their performance and rewards. For more control over your nominations, opt for manual selection and carefully choose the validators you wish to nominate. Keep in mind that nominating multiple validators helps diversify your risk.For a more detailed guide on selecting the right validators, check out our article on how to choose the right polkadot validator.
Once you've made your nominations, click on "Continue" to proceed. At this stage, you'll define your bond, which locks in your staked tokens for a specific period. It's important to note that the unbonding period is 28 days, during which time your tokens cannot be withdrawn nor earn rewards.By bonding your tokens, you contribute to the security and consensus mechanism of the Polkadot network, and in return, you'll start to earn staking rewards.
You will now start to earn staking rewards.


